While StrikerVR provide an installation tool for the Mavrik-Pro software (StrikerLink), we have integrated the entire process into Spawnpoint for a streamlined operator experience.
Please ensure your Spawnpoint install is up to date before proceeding. If you are not offered an update on the Settings page then you are good to go.
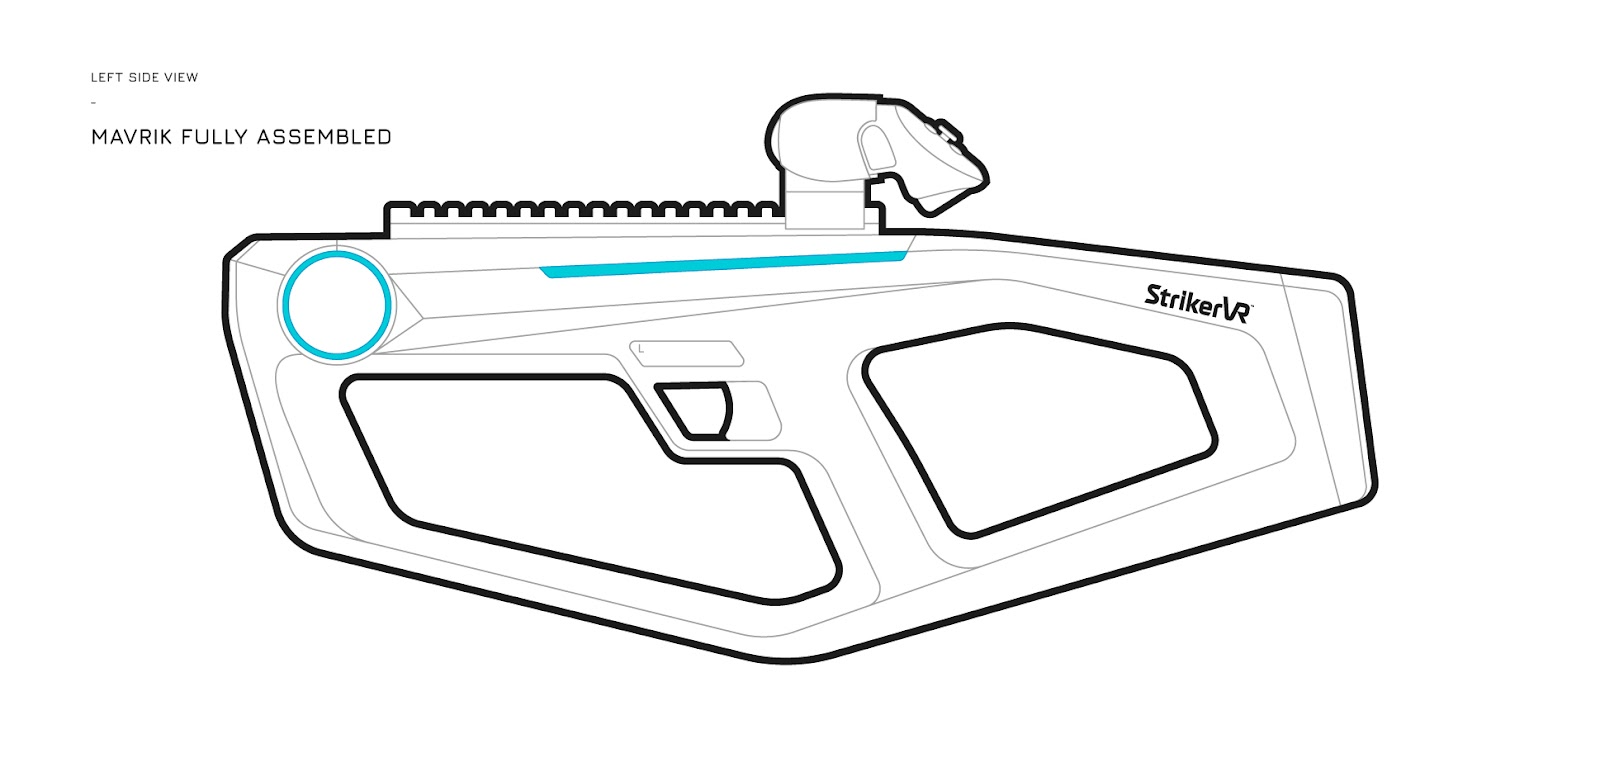
NOTE: StrikerLink is only compatible with the Mavrik-Pro. Consumer Mavrik devices will not function in combination with StrikerLink.
Installing StrikerLink
We ship Spawnpoint with an up to date version of StrikerLink to ensure quick and easy setup, you can install it by doing the following:
- Access your Spawnpoint operator interface and go to the Devices page
- Click the cog next to any of your headsets to access the Device Settings window
- Go to the "+" tab and enable the Peripherals addon
- Now you will have a new Peripherals tab, denoted by the Joystick icon, click that and select StrikerVR on the left
- Plug the headset into your PC and click Install StrikerLink
- To verify your install is complete, wait a few seconds and the "StrikerLink Connection" field should go from "Disconnected" to "Connected"
If you'd like to update StrikerLink in the future, simply visit this view again and use the Install StrikerLink button. We regularly ship new versions of StrikerLink as they are released, and will display the currently installed StrikerLink version in red if an update is available.
Pairing your Mavirk-Pro to your Headset
Please make sure you follow the instructions for your specific device in the section below, as some headsets must be paired in a specific way. This section assumes you have already enabled the Spawnpoint Peripherals Addons detailed above, and that you have already installed StrikerLink.
Before proceeding: Ensure your blaster's internal pairing list has been cleared. To do this turn it on so that it's in demo mode and hold both of the side buttons (just above the trigger) down until the lights flash and go out. Turn the blaster off (hold the power button, the blaster will not react) and then turn it back on.
- In your headset, navigate to the headset's Settings view and select the Bluetooth menu
- Click the Scan button
- Select the Mavrik Pro from the found devices list
- Confirm the pairing when prompted
If you do not see a pairing confirmation window, try holding both side buttons (either side of the trigger) until the blaster flashes to clear current pairings. Then try the pairing process again.
Configuring StrikerLink
Spawnpoint has built-in management of various StrikerLink features, including the tracking mount setting and bridge mode.
Setting the Tracking Mount Setting
StrikerLink has a built-in feature to automatically provide games with the correct blaster orientation for your setup. While we cannot speak for other content on the market, all of our games utilise this feature to ensure a seamless experience between games.
In the StrikerVR settings view on the Peripherals Tab, enable the Manage Blaster Settings option and select your mounting solution from the dropdown under Blaster Tracking.
The following Meta Quest mounting solutions are currently available in StrikerLink:
- Quest 3 Controller (Left)
- Quest 3 Controller (Right)
Please ensure you select the correct setting for your Mavrik setup, otherwise your blaster will not be correctly oriented in-game. If you do not have the correct mount for your tracking type, please contact your StrikerVR reseller to purchase a new mount.
A note regarding Quest 3 controllers
Please ensure you mount your controller as follows. Due to the lack of tracking ring on the controller it must be mounted with the buttons facing you to ensure reliable tracking, as the only tracking LEDs in the controller would not be visible to the headset when pointed forward. The mounting setting for the Quest 3 controllers is already setup to orient the blaster correctly for this setup.
Setting up Automatic Bridge Mode Management
If you'd like to use your StrikerVR Mavrik-Pro with supported PCVR titles, check out this article for a guide on setting up Bridge Mode: Setting up StrikerLink for PCVR Support using Bridge Mode